
Assuming you have signed up / installed your EHR as we described in the first step, the next thing to do is to start setting up the software to suit your needs. Some settings can be decided or changed later, but try to get all the basics right early on. This includes things like your practice’s location, your schedule and services, and the like.
The amount of configuration involved will vary by user, practice, and software. In SeriousMD’s case, configuration is straightforward. If you still do not know where to start, here is a quick guide to setting up the app. Note that most of the things you need to configure on SeriousMD can be found under My Account.
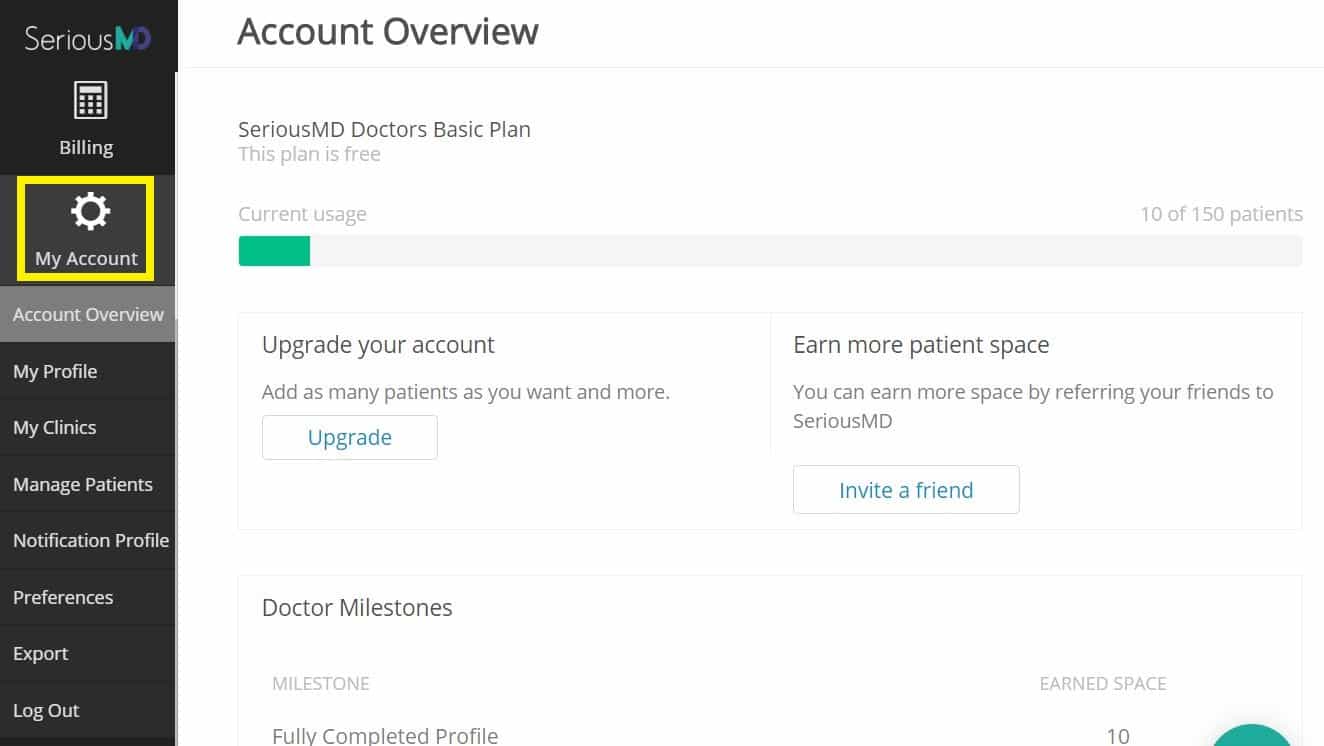
Here is the My Account module as seen in the browser version of SeriousMD.
So without further ado, let us break down the stages to Step 2 of your EHR implementation.
Implementation Step 2: Configuration
1. Fully flesh out your profile.
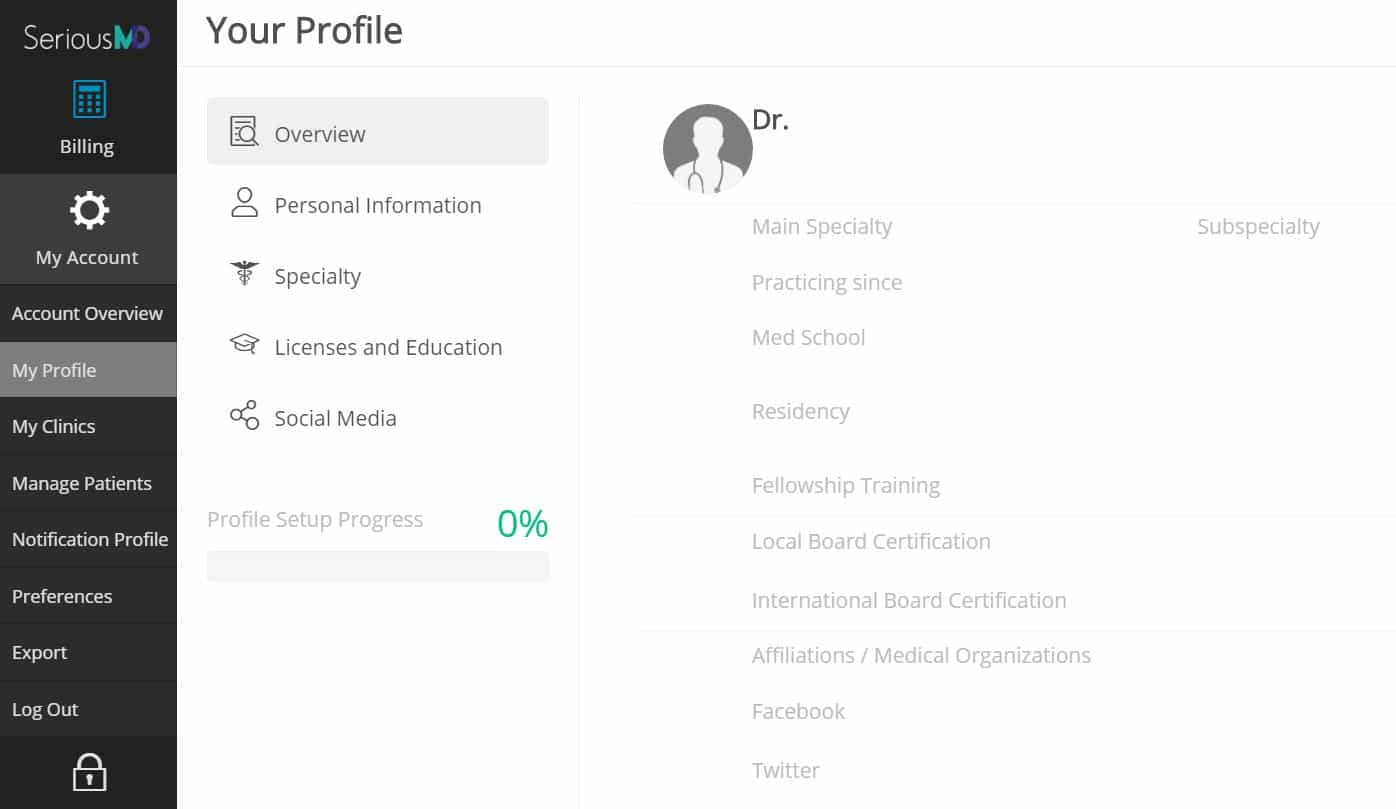
This is a good place to start. You can find this under the My Profile tab under My Account.
Completing this is technically optional. However, given that it is one of the easiest things to do here, why not do it already? It will also help you in the long run once we release more features, including online booking.
2. Add all of your practice schedules.
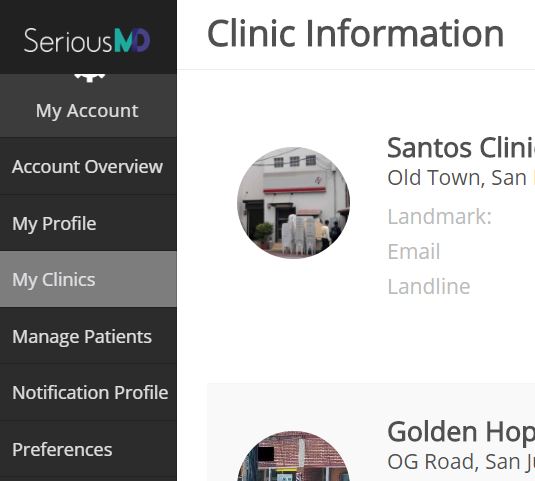
This will help keep your calendar and queue in order. While the tab for this is named My Clinics (under My Account), you can actually enter non-clinic schedules here.
For example, you might have a schedule or make rounds in a hospital. This will still fall under this tab, so be sure to add it to your schedules to make your activities and data easier to organize later.
3. Select which data you want shown to you by the app.

Depending on your specialty, some types of data may be more salient to your diagnostic procedures than others. You might want to ensure that only the data you consider immediately relevant is shown to you by the app.
To do this, you can go to the Preferences tab under My Account. Choose which data you want to see by toggling it on or off.
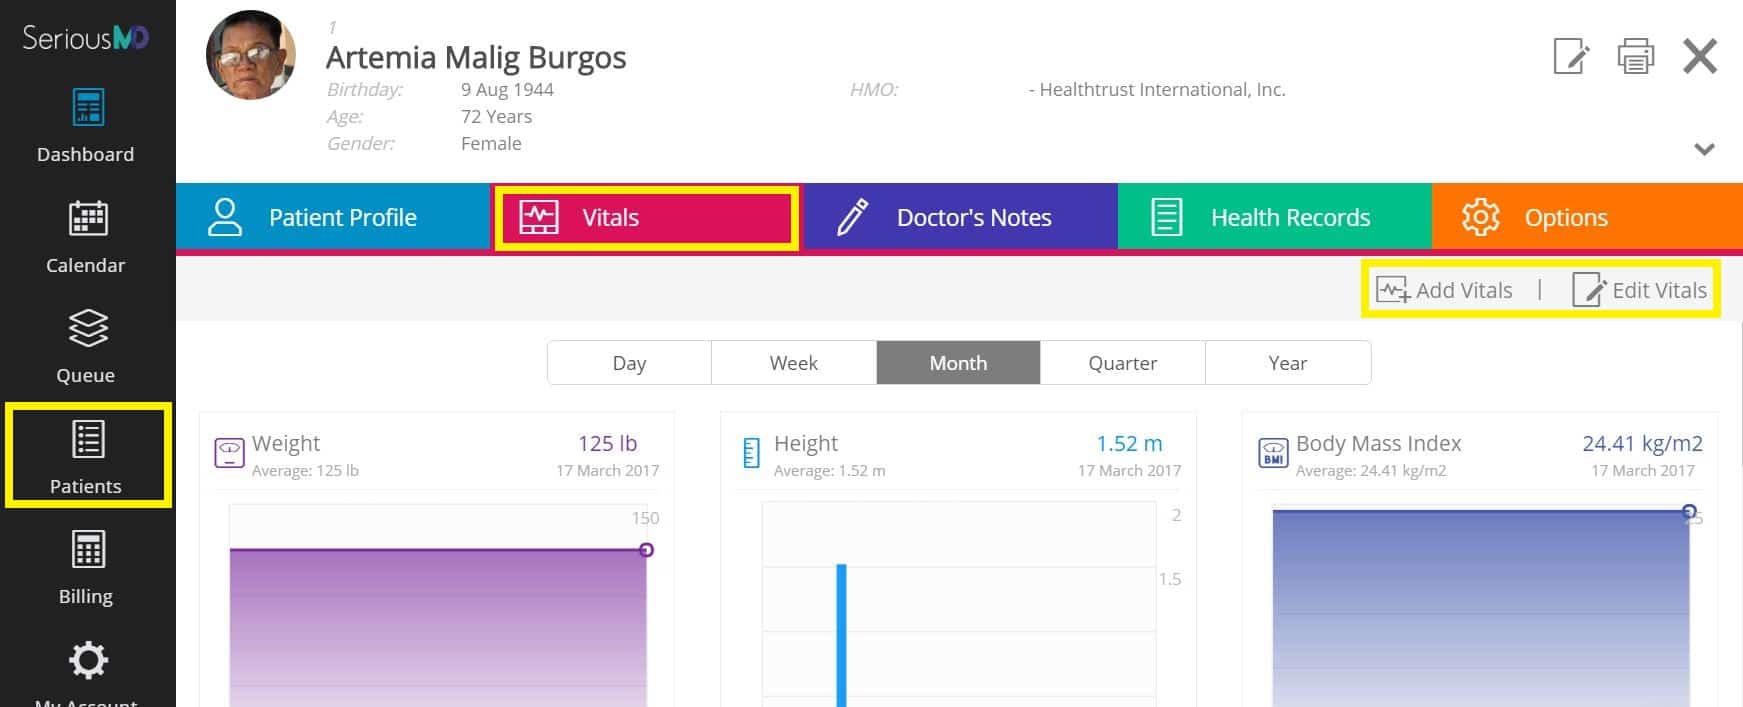
The above process takes care of the universal settings (it affects all patients on your app). If you want to choose which data is shown to you for a particular patient instead, you can take care of it on that individual patient’s Vitals tab.
Do this by going to the Patients section and choosing the right patient from the list. Then, select the patient’s Vitals tab and choose either Add Vitals or Edit Vitals (both found on the top left when on the Vitals tab). See the image below:
Take note that you may also want to set up the tests or drugs you order/prescribe most often at this point. To do this, simply use the “favorite” feature. You can use it to set favorites for your ICD-10, lab tests, and drugs, like so:
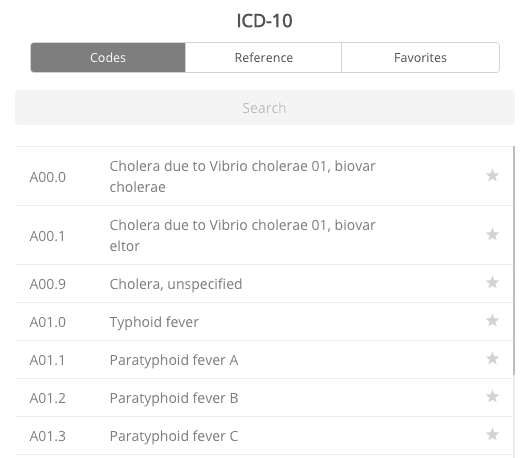
Tap on the star to add a selection to your favorites list.
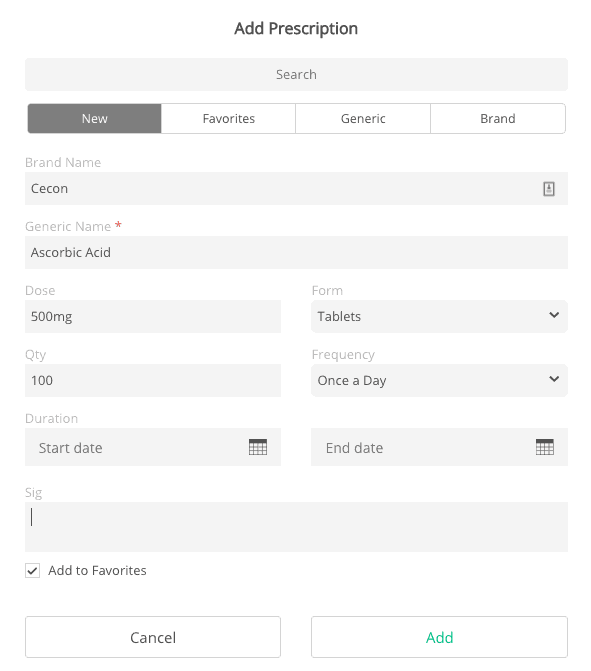
Add a prescription to your favorites by ticking the box near the bottom of the form.
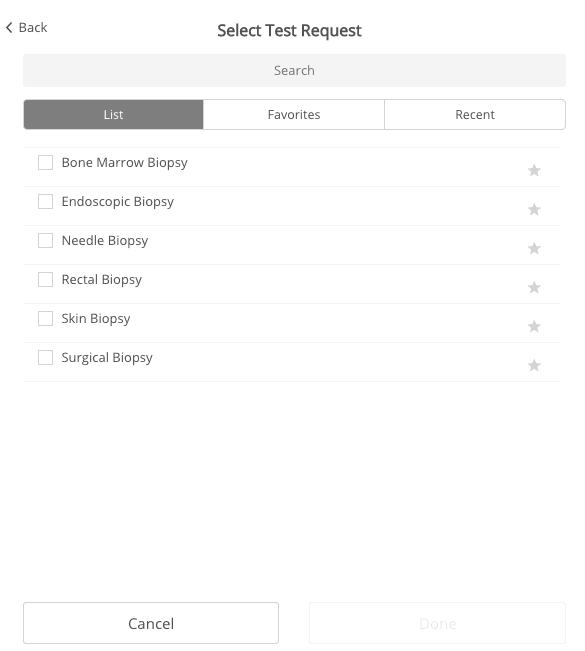
As with the ICD-10 list, tap on the star to add a selection to your favorite test requests.
4. Select how you want the app to arrange your patient list.
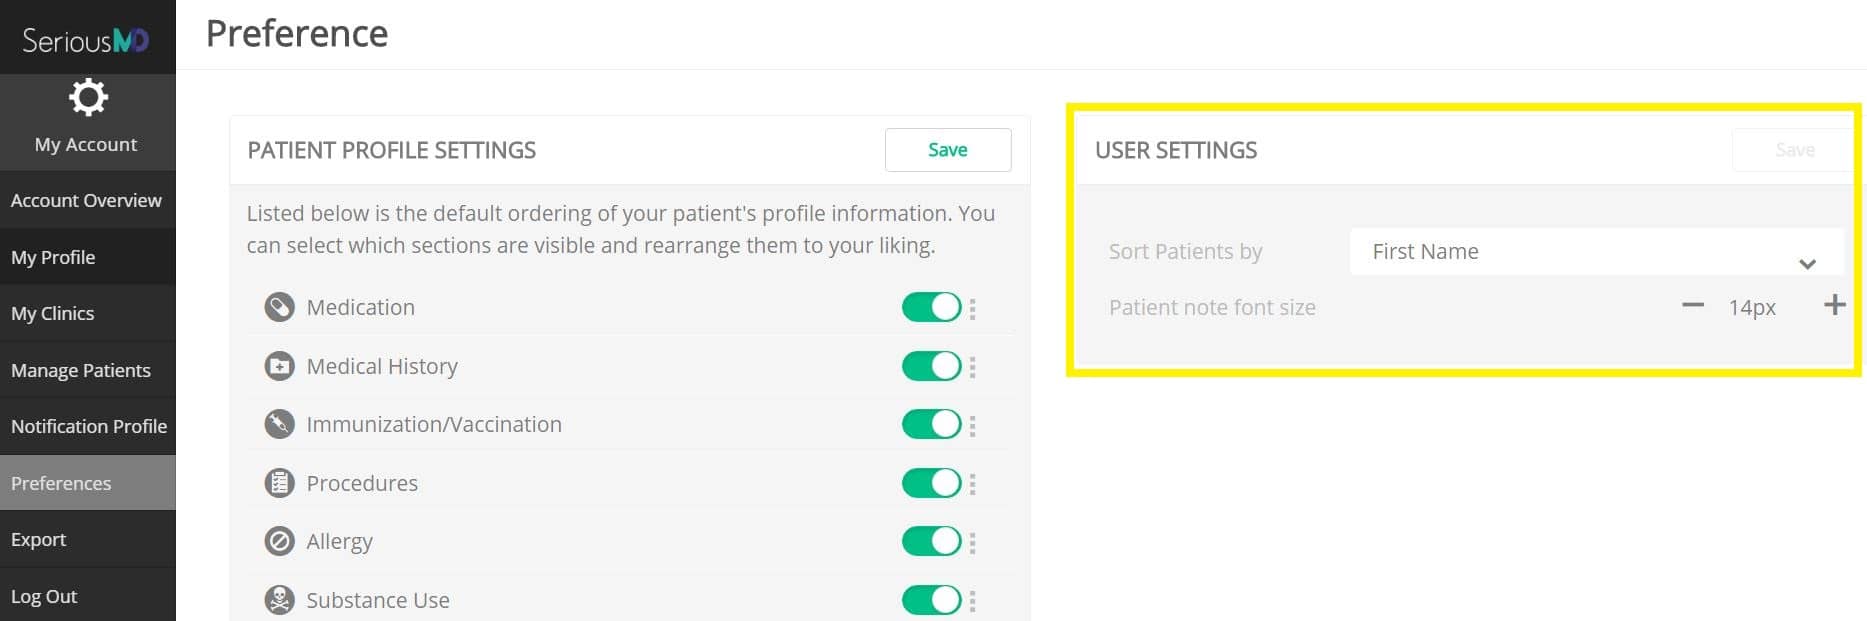
It helps you transition more seamlessly into EMR usage if you keep things as close to your old record-keeping system as possible. Some doctors like to arrange patient lists (alphabetically) by first names, others by surnames. Choose the setting you like from the Preferences tab.
5. Check your security settings.
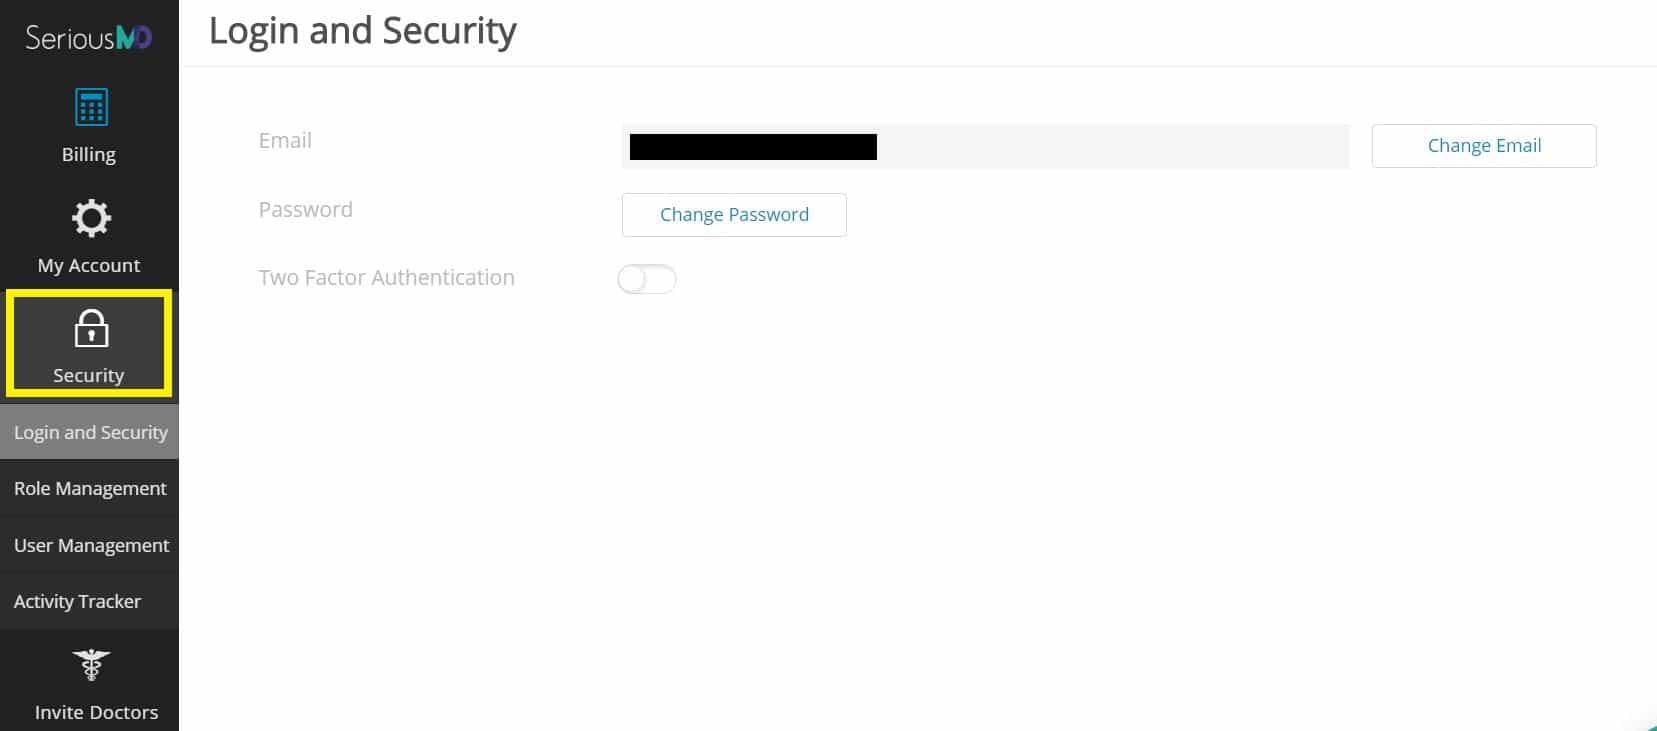
It never hurts to do this sooner rather than later. You can get into all sorts of options for your account under the Security section—like the Role Management tab, which lets you assign roles to staff members also using the app. We can talk about them in later steps, though.
For now, what is most important is making sure the data in the main Login and Security tab is accurate. You can change your account Email and Password as well as enable Two-factor Authentication here. It is generally advisable to enable Two-factor Authentication as it helps protect you from data breaches.
6. Enter any existing presets for billing.
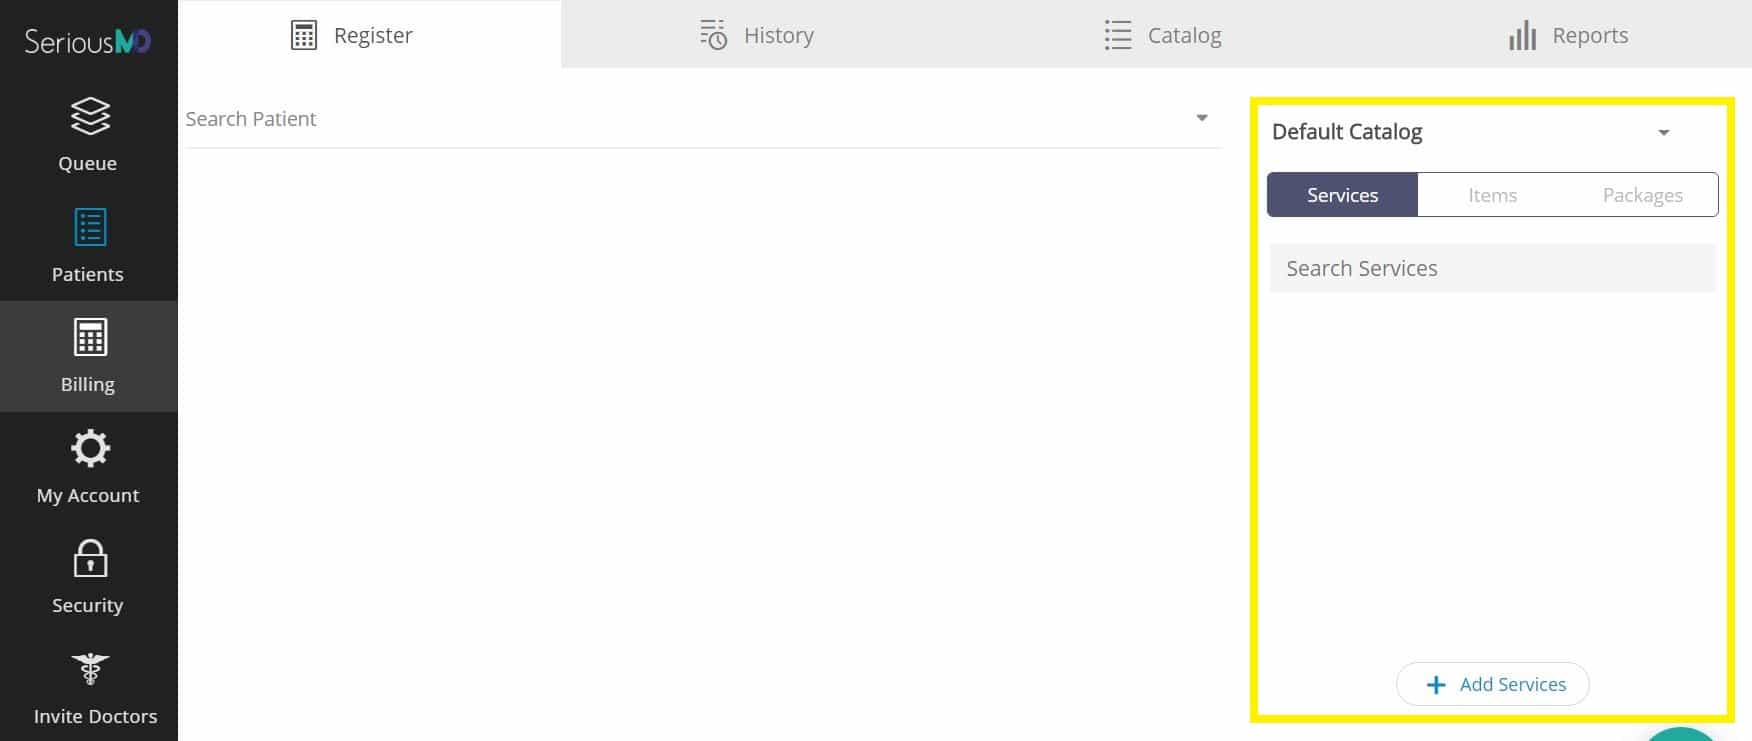
To save yourself time on billing processes later, preset your usual services, items, or packages in the app now. To do this, go to Billing, then choose to add entries to the catalog. This will make your life much simpler later on, as it means you will no longer have to manually type or enter amounts for collection afterwards.
And that should more or less take care of your starting configuration for SeriousMD. As we noted earlier, you might change some settings later on, but getting these things done first will help you hit the ground running with your new EMR solution. Now if you want to get on to the next step of implementation, see our advice on assessing your practice.